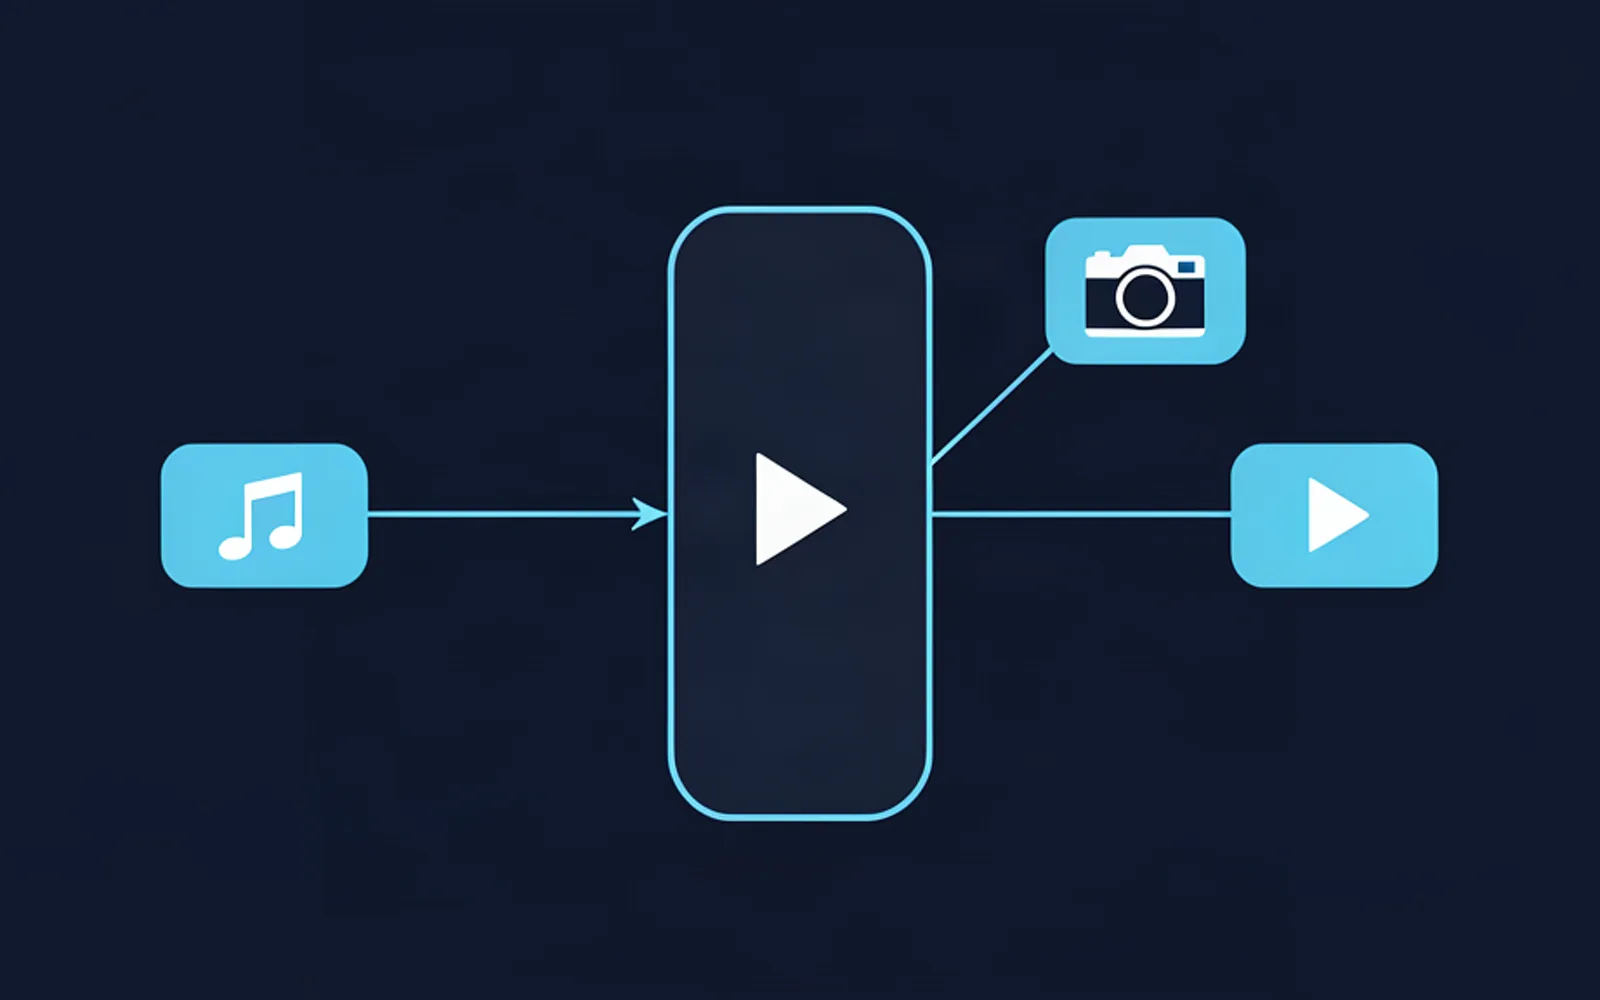
Can the same clip go to TikTok, Reels and YouTube Shorts? Yes — one vertical export can feed all three, and you never have to re-edit it per network, on one condition: the master has to be built for the strictest of the three destinations rather than the most forgiving one. What follows is what genuinely differs, what can stay identical, and where the third export quietly turns one clip into three separate productions.
What actually differs between TikTok, Reels and Shorts
The three feeds take the same vertical file, and that is roughly where the resemblance ends. Three things genuinely differ, and none of them is the cut itself.
The length ceiling. YouTube's help centre states that a Short can run up to three minutes (Get started creating YouTube Shorts). Instagram's specification page is looser on duration but explicit about the frame: a Reel sits between an aspect ratio of 1.91:1 and 9:16, with a minimum resolution of 720 px (Reel size & aspect ratios on Instagram). Neither document says your two-minute edit is wrong on one network and right on the other — but the length each feed rewards is not the same length.
What the app paints over your frame. Every one of these apps covers part of the picture with its own interface: account name and title across the top, the action rail down the right edge, the caption and the playback controls across the bottom. Same file, three different masks — and a caption bar that clears one mask can land under another. This is the difference that costs clippers the most, precisely because nothing in the editor shows it to you.
The sound. A track picked inside one app is licensed for that app. It does not travel inside the file, and the network you paste that file into sees an unlicensed clip with no audio rights attached. Trending audio is per-platform inventory, not a property of your export.
Everything else that people blame for cross-posting — the crop, the caption style, the hook, the colour — is identical on all three, as long as it was decided once.
Build the master against the strictest destination, not the loosest
The order of operations that removes the second edit is short, and it is a matter of choosing the correct constraint before you cut, not after.
- Set the canvas to 9:16 at the tallest vertical resolution your source honestly supports. A master exported at half the resolution of its source cannot be rescued later by a higher upload setting.
- Keep captions and any on-screen text inside the central band that all three masks leave free. The safe area is the intersection of the three interfaces, not a round number you invented.
- Cut at sentence boundaries. A version that ends two sentences earlier must be a deletion, not a new edit — that single habit is what makes a shorter cut free.
- Never bake padding, black bars or letterboxing into the file. YouTube's own aspect-ratio guidance asks you to avoid adding padding because it stops the player from adapting the picture to each device (Video resolution & aspect ratios).
- Export once, then derive the per-network trims from that export.
720 pxthe minimum resolution Instagram states for a Reel — export below it and the upload is refused, on a file that looked fine in the editor (help.instagram.com)
The tempting move is to build for the loosest destination, because it accepts the most. It is also the move that guarantees two extra passes: whatever is legal on the tightest mask is automatically legal on the others, and the reverse is never true. Build the master once, to the strictest of the three, and the other two become packaging jobs.
One consequence worth stating plainly: the safe band belongs in the middle of the frame. Networks crop a vertical preview toward the centre when the clip is shown outside the full-screen feed, so text pinned high or low is not merely at risk of an interface overlap — it is at risk of being cut out entirely.
What you still have to change per network
A master removes the re-edit, not the packaging. Six decisions remain, and every one of them can be made from the export instead of from the timeline:
| Decision | Changes per network? | Where you make it |
|---|---|---|
| The cut itself | No | Timeline, once |
| The crop and the caption style | Only if one app's interface sits lower | Preset, applied per export |
| The length | Yes — trimmed at a sentence boundary | Export |
| The cover frame | Yes | Export |
| Title, description, hashtags | Yes | Upload screen, per network |
| The sound | Yes | Upload screen, per network |
Read the table as a boundary. Everything above the length line is production work — it belongs in one pass, and repeating it per network is where a week disappears. Everything below it is packaging: thirty seconds at the upload screen, repeated three times, and the repetition costs you almost nothing because no decision is being made twice.
There is one honest limit to the whole method, and it is worth knowing before you promise yourself that a single master ends the problem. The master fixes the file. When the idea does not fit the shorter length, no spec sheet helps: a three-minute explanation and a thirty-second one are not the same clip with the ending cut off, they are two different clips. The test is simple and takes a minute — cover the last third of the clip with your hand. If what remains still lands as a complete thought, trim it. If it now needs the sentence you just removed to make sense, that is a second clip, not a shorter export.
The re-export trap: why the third export costs the most
The expensive part of cross-posting was never the render. It is the re-entry: every pass over the same clip means opening the project again, importing again, re-syncing the captions, re-checking the crop, and re-deciding what the clip is about. Do that three times per clip and you have paid for three selections, three caption passes and three quality checks to serve one idea.
Run that against a realistic week and the shape of the problem appears. A clipper publishing to three networks is doing three times the decisions, not three times the exports — and the part that grows is not the machine time, it is the hour of attention that has to be given to each clip before it can go out. That is why the third export costs the most: the first two rides on momentum, the third happens on an evening when the clip is already old.
The fix is an order, not a tool. Decide the selection and the spec once, produce everything through that spec in a single block, and export the variants at the end — the timeline is opened once per clip, not once per network.
The mechanical half of that pass is what a production line can carry. Hand ClipFinish's clip production line a source and a spec — canvas, caption style, crop rule, output formats — and it returns clips already cut to the marked spans, captioned and framed, ready to be exported once per network. What it will not do is decide whether a moment deserves to be posted, and it does not know your campaign owner's taste in hooks. Hand it a weak span and you get a well-framed weak clip. The selection stays yours; the conformance and the repetition leave. The batch side of the same principle is set out in how to batch edit clips.
Pin the spec above your timeline
The method only holds if the spec exists in writing before the first cut. One screen, five lines, and it stops every per-network decision from being re-opened in your head:
- Write the spec: 9:16 canvas, caption style, crop rule, one length band per network, and the list of formats you will export.
- Select every candidate first, with no timeline open — in-times, out-times, a three-word note each.
- Take the whole surviving list through the same spec in one block. Nothing gets decided twice.
- Export one master per clip, then derive the shorter versions by deleting whole sentences from that master.
- Check the outer margins once per format, not once per post, and keep a template with the safe band drawn on it.
Two references make that spec easier to write. The crop rule and the usable margins are worked through in reframing 16:9 to 9:16 with interface zones, and the caption band is covered in where to place captions on shorts. Write both numbers into the spec once and stop re-deriving them per clip.
- Can I post the exact same file to TikTok, Reels and YouTube Shorts?
- Yes, provided nothing important sits in the outer margins and the length suits the shortest feed you publish to. The cut, the crop and the caption style can be identical; the title, the description and the sound should never be assumed to travel with the file.
- Do I have to re-edit a clip for each network?
- No, and that is the point of building the master against the strictest destination. Re-editing is only needed when the idea does not fit the shorter length — and that is a new clip, not a new export.
- What resolution should the master be?
- The tallest vertical resolution your source honestly supports, and never below 720 px, the minimum Instagram states for a Reel.
What is worth keeping: one master per clip, built to the tightest mask and the shortest length you actually accept; the per-network differences handled at the export and upload screens instead of in the timeline; and the packaging decisions — title, hashtags, sound — taken per destination rather than assumed to be shared. Get that order right and adding a third network stops costing a third edit. ClipFinish's clip production line carries the mechanical half of the pass — hold one spec, cut the marked spans, return the clip already captioned and framed — which leaves you the part that decides anything: whether the clip was worth publishing at all.