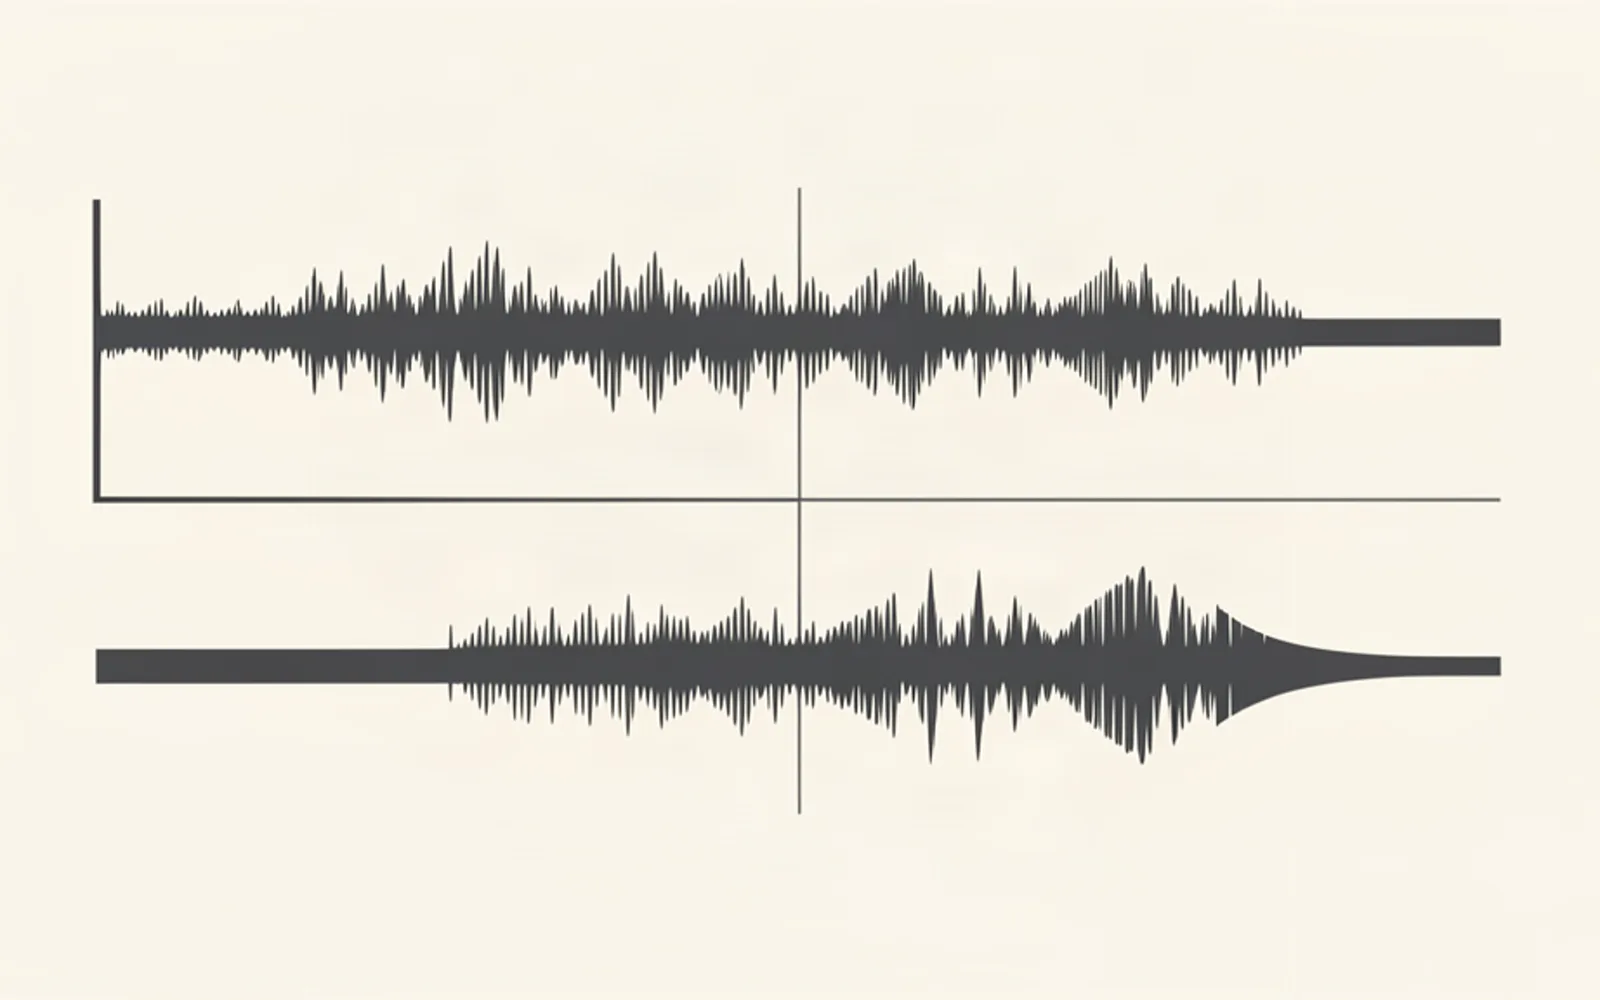
The click you hear when a clip cuts is not a broken file: it is a vertical jump in the waveform, created the moment you splice two points that were never next to each other. This is how to cut a clip without the pop, and the three-step audio pass that holds up across a whole batch.
What actually makes the pop
Cut a clip mid-sentence and you hear a click. Nothing is broken: you have asked the audio to jump from one level to another between two samples. A waveform rises and falls; the instant you splice two points that were never adjacent, the line goes vertical, and that vertical is the pop.
Where you cut decides how bad it is. Three zones, worst to best:
- Inside a sustained vowel — the waveform is near full amplitude, so the jump is at full amplitude too. This is the click no music bed hides.
- Inside a breath or a pause — the waveform is close to zero, so the jump is small. Still audible on headphones.
- On a true silence, or where the waveform crosses its own axis — there is almost nothing to hear. This is where a cut belongs.
There is a second, quieter failure that catches people out: the room. Every recording carries a bed of room tone, and that bed changes between the two sides of a cut. Splice a passage recorded in one room against a passage from another day and you get a faint ambient snap even when the words join up perfectly — the same seam that makes two takes in a studio sound like a jump.
None of this comes from the microphone. It comes from the join.
A one-frame fade is not enough, and the wrong curve is worse
The reflex fix is to drop a fade on the cut. It works, up to a point, and the failure modes are documented.
Editing software ships three crossfade shapes, and Adobe's documentation of them makes the difference explicit. Constant Gain changes the level at a constant rate, and it "can sometimes result in a noticeable dip in volume at the midpoint of the transition" — you traded a click for a hole. Constant Power is the one built for speech: Adobe describes it as "analogous to the dissolve transition between video clips". Exponential Fade is the same idea on a logarithmic curve, described as "more gradual" than Constant Power.
Length matters more than the curve. One frame at 30 fps lasts 33 milliseconds: enough to round off a click, not enough to hide a splice inside a vowel. In practice 2 to 4 frames at each end is the range that survives headphones — 67 to 133 ms at 30 fps, 83 to 167 ms at 24 fps.
And a fade has to go on both ends. Fade the head only and the click moves to the tail: the viewer hears it on the exit, which is precisely the moment you want them to keep watching.
The 3-step audio pass you run on every clip
Run this on every clip, in this order, before anything else.
- Cut where the sound is already at zero — on a pause, a consonant, or a waveform crossing. Never inside a sustained vowel.
- Fade both ends of every edit point: 2 to 4 frames in, 2 to 4 frames out. Use a crossfade (constant power) instead of two fades when both sides carry continuous sound, music or ambience.
- Cover the seam: let the room tone or the music bed keep running underneath the join, so the ear has something continuous to follow.
Then stop. The loudness question answers itself: your clip is not played back at the level you exported. Platforms apply loudness normalisation at playback — Google's audio loudness reference defines LUFS as the standard that exists so that producers "avoid jumps in amplitude that would require users to constantly adjust volume". Turning a clip up does not make it play louder; it makes it get turned down, sometimes dragging artefacts in on the way. Consistency from one clip to the next matters more than any target number.
The cutting step has a lever here too, and it is worth knowing before you spend the afternoon on fades. Tools that tighten silence are solving the same problem — Adobe Audition's Strip Silence finds the inactive regions and removes them without losing sync in a multitrack session. The cheaper route is to never create the bad joint in the first place.
Where the pass breaks down: twelve clips, forty joins
On a single clip this pass is ninety seconds of work. On a batch it is the afternoon, for a structural reason: cut points multiply. A 45-second clip built from four moments carries three or four joins, and a join has two ends, so six to eight fades to place and check. Twelve clips and you are at seventy or a hundred small audio edits, every one of them a place to be wrong — and all of them have to be auditioned on headphones, because that is the only way to hear them.
It is also the part a tool will not hand you finished. Software that finds the moments for you still returns a timeline you have to audition; the fade, the room tone and the level are a listening pass, not a computing pass. That review pass has its own article — what a batch of generated clips still needs from you — and the audio join is one of the reasons it exists.
One thing the cut itself can do for you. If the tool cuts from the transcript, on word boundaries, then the splice lands on a boundary the sound respects — between words, not inside a vowel. That is the difference between a clip that needs a fade at every join and a clip that needs one only where the two sides disagree. The ClipFinish clip production chain works this way: it cuts from the transcript, on word boundaries, and returns a vertical clip with word-by-word captions. It does not mix your audio, it does not normalise loudness and it does not clean a bad source — that pass stays yours, which is what the next section is about.
If you are weighing where this sits in the rest of the chain, where editing time actually goes puts numbers on the steps nobody budgets for, and cutting from the transcript covers what a transcript-based cut gives you and what it does not.
What this pass does not fix
A clean join is not a clean source. The difference, honestly:
- A noisy source stays noisy. Hum, air conditioning, a fan, a fridge — noise reduction lowers the floor and usually takes some of the voice with it. Done gently it is a trade; done hard it sounds processed.
- You cannot cut out reverb. A recording made in a hard room carries its own tail, and every cut you make inside that tail is a join against reverb.
- Overlapping audio stays overlapping. If the source is a stream where the game, the alerts and the voice share one track, no edit separates them — you would need stems nobody gave you.
- A swallowed syllable is gone. If the line you need is half-mumbled, the fade will not rebuild it.
- Normalisation is not your job. Chase consistency across the batch rather than a target number, and let the player do what the player does.
Short answers
- Is a one-frame fade enough?
- At 30 fps a frame is 33 ms. It removes the click on a cut that already lands near silence, and it is not enough to hide a splice inside a vowel. Put 2 to 4 frames at both ends before you conclude that fades do not work.
- Should I normalise my clips to -14 LUFS?
- Aim for consistency from one clip to the next rather than a number. The player normalises at playback: Google's loudness reference defines LUFS as the standard that exists precisely so listeners do not have to keep adjusting the volume, and recommends -16 LUFS for stereo speech. A clip much louder than its neighbours is audible as the viewer scrolls.
- How do I cut an "um" without a pop?
- Leave a little air: cut about 100 ms before and after the filler so the splice lands in silence rather than against the vowel on either side, then fade both ends. Cutting tight against the vowel is how you manufacture the click you were trying to remove.
The cut point is a small thing that decides whether a clip feels edited or merely assembled. Three rules cover most of it: cut where the sound is already quiet, fade both ends, keep something continuous underneath the join. Then listen on headphones before you ship, because the pop never shows up in the waveform you looked at, only in the one you heard.
If the cutting itself is what eats your evenings, the ClipFinish clip production chain takes the moment-finding and the captions off your plate, so that what is left to you is the pass only ears can do.